How to Paint a Wall For a Projector?
Painting a wall for a projector involves more than just picking a color. Choosing the right type of paint, knowing the differences between projector-specific paint, and many more things must be considered before painting a wall for your projector.
Creating a projector-friendly wall is a cost-effective alternative to traditional screens, as it offers custom size and an integrated look in your space. This article can help transform your wall into an optimal projecting surface, turning any room into a mini-theater or a professional presentation space.
How to Paint a Wall for a Projector?
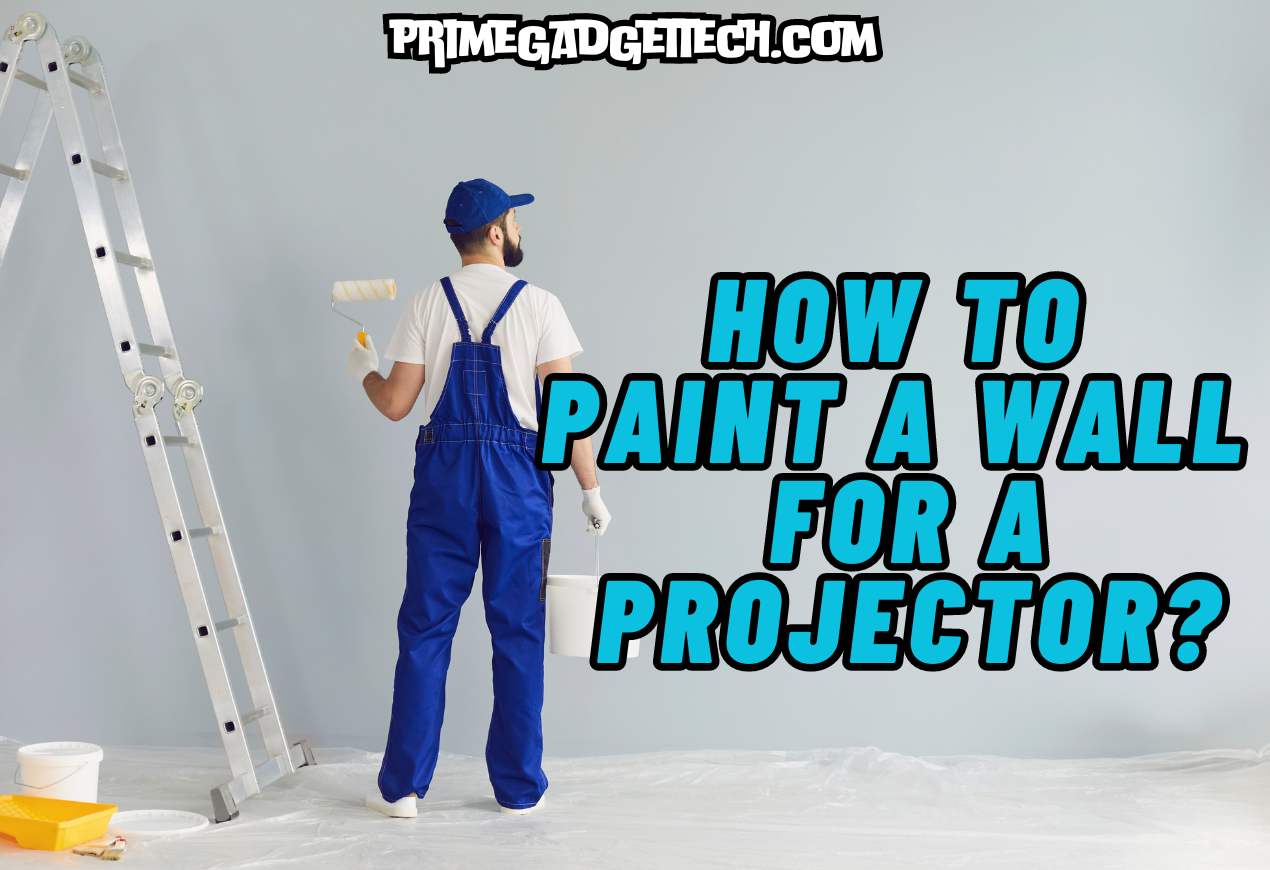
To paint a wall for a projector, begin by selecting an appropriate projector-screen paint, which typically comes in either grey or white. There are unique paints for projectors in the market; be vigilant in choosing such a product.
Now, let us explain each step in detail.
First Step – Choose the Right Paint
Projector-screen paint comes in various shades. A grey or white base offers high contrast and brightness, so the general recommendation is to choose one of those colors. However, the choice depends on your projector’s luminosity and ambient light conditions.
2nd Step – Surface Preparation
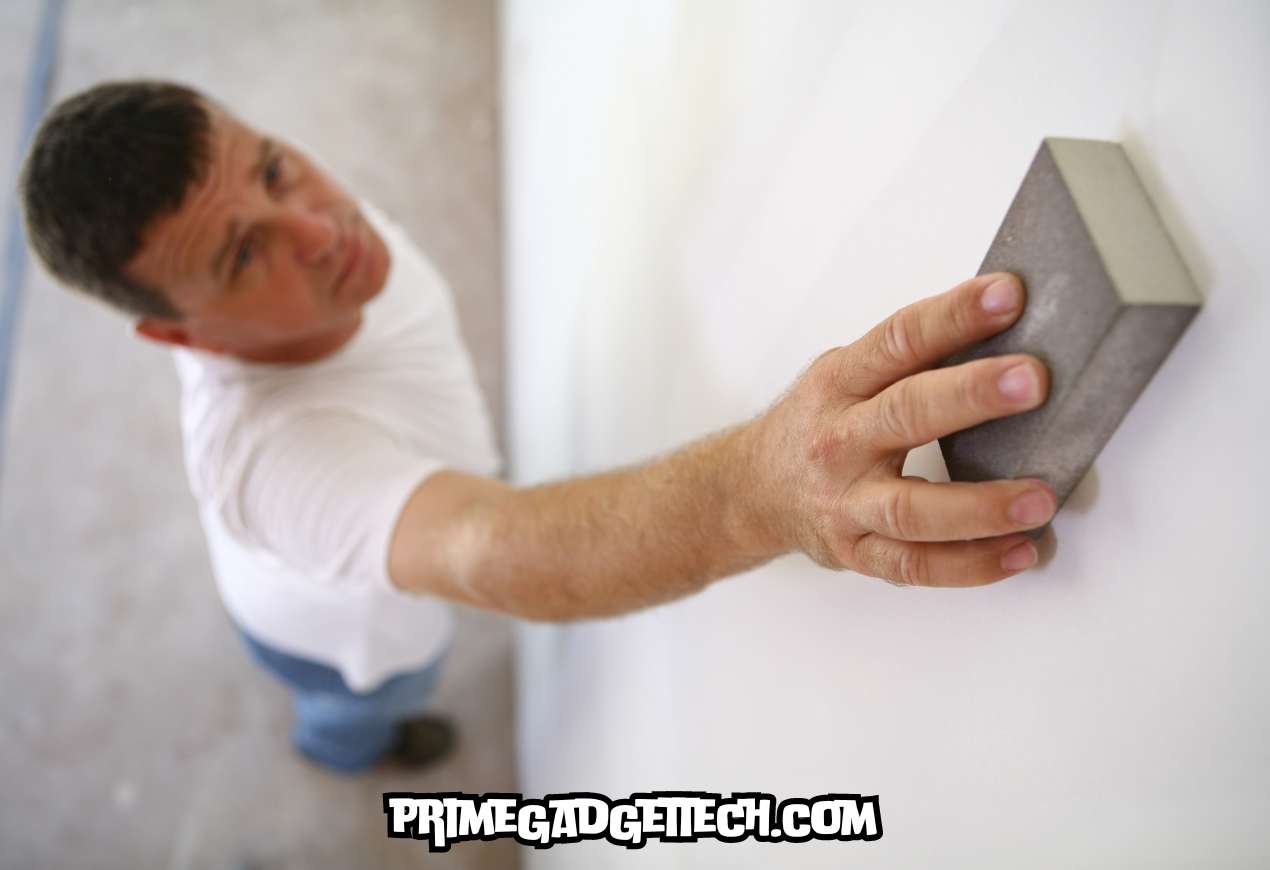
It is important to start with a smooth, clean wall. Any imperfections can distort the projected image. Sand away uneven textures and fill in holes or cracks. After sanding, wipe the wall clean to remove dust.
3rd Step – Choosing Primer and Paint
Use a primer suitable for your wall type; this ensures the paint adheres well and provides a consistent base, especially if you’re covering a darker color.
In addition, remember to choose a specialized projector-screen paint for optimal reflectivity and image quality. You scroll down the article to find the difference between projector-specific paints and regular paints to learn how to choose right type of paint for your wall.
4th Step – Painting Process
Next, apply the paint with a smooth, high-quality roller to avoid streaks and ensure even coverage. It might require multiple coats; you can read the label of the product to find out the manufacturer’s instructions.
Finishing: After the final coat, allow the paint to dry completely before using the projector. The drying time may vary based on the paint brand and environmental conditions. In general, it can take around 4 to 6 hours.
Once dry, test the wall with your projector. You may adjust the projector settings if needed for optimal image quality.
Related: How to Connect Xbox to a Projector?
What Color Should I Paint My Wall for a Projector?
As we mentioned earlier, you should paint white or gray on your projector wall for better image quality. However, you are advised to consider the projector’s brightness and your viewing environment.
Darker colors, like gray, are optimal for enhancing contrast and depth, especially in low-light or home theater settings. Gray walls minimize light penetration and enrich black levels in the image. In contrast, white walls are more suited to bright rooms and higher-lumen projectors, reflecting light and ensuring a vibrant, clear image.
Apart from the light levels, you have to consider the ambient light in your room; gray can mitigate the impact of ambient light on image quality. Moreover, the paint finish is crucial; here, the goal is to achieve a matte or flat finish in order to avoid glare and maintain a uniform image surface.
Ultimately, the decision depends on balancing your projector’s characteristics with your environment. If you frequently watch in complete darkness, lean towards gray. On the other hand, for a multi-purpose space with varying light conditions or brighter projectors, white might serve better.
Are you confused about what to choose? Then, our advice is to test a small section before committing to the whole wall to ensure satisfaction with your viewing experience.
Difference Between Projector Paint and Regular Paint
There are certain differences between projector paint and regular paint, such as reflectivity and contrast. Understanding their distinctive characteristics will lead you to make the correct decision. So, move on to the points below.
Reflectivity
Projector paints are optimized to reflect projector light effectively, enhancing image brightness and clarity. Regular paints’ traditional finishes (matte, eggshell) are not made to reflect light, potentially leading to a duller projection image.
Related: How Many Watts Does a Projector Use?
Final Finish
Projector paints are designed to create a flat, even surface, which reduces visual distortion and glare. Nevertheless, regular paints can create uneven surfaces that distort or blur the projected image.
Color & Contrast
While projector paints are formulated to improve color saturation and contrast, which is crucial for quality projection, regular paints don’t take into account the enhancement of a projected image, possibly leading to poorer viewing experiences.
Hotspots
Projector paints can reduce the risk of hotspots, where parts of the image appear much brighter, but regular paints are not improved in such a manner.
Specialized Colors
Projector paints are often available in grey or other tones that aid in deepening blacks and overall image depth. But normal paints are available in a wide range of colors and finishes for decorative purposes.
Here is a useful video to watch regarding projector paints.

Robert Will is an expert in wearable technology, with a keen focus on smartwatches and smart rings. Passionate about staying at the cutting edge of tech, Robert regularly acquires the latest wearable devices to thoroughly test and review. His in-depth guides are crafted to help consumers navigate the ever-evolving world of smart wearables, ensuring they make informed decisions. With a background in tech journalism and a genuine enthusiasm for innovation, Robert’s insights are both practical and engaging. Whether you’re a tech novice or a seasoned gadget enthusiast, Robert’s comprehensive articles and reviews offer valuable perspectives to enhance your tech experience.

